
Adding and editing users
To add or edit user information in DropTime:
- Go to Users > Manage Users.

- To add a new user, click Add User. To edit a user, click the pencil icon to the left of the user name.

- Edit any user information as needed.
- From the General Tab, enter Personal Information:
- First Name: The first name of user.
- Last Name: The last name of the user.
- Initials: The initials of the user. This is used for JWS Export.
- Email Address: The email address of the user. This is the email address that will be used to send account login information to the user.
- Next, enter Permission Information:
- Role: The role of the user. For more information, see Creating roles.
- Default View: The default view of the user. For more information, see Managing Views.
- Default Mobile View*: The default view of the user when using the Mobile App.
* This only applies to the new mobile app launched in May 2020 - Home Plant: The home plant of the user. The home plant controls what other users can access this user’s account in the Users area. A user whose role allows access to user accounts for this home plant would be able to edit this user’s account information.
- Next, enter Miscellaneous information:
- Background Color: This color will be used when your schedule Color Scheme is set to Color by User
- Click the Crew tab
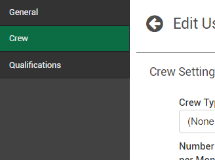
- Enter the following information, if applicable:
- Crew Type:The type of crew that this user belongs to. Crew type is a system category.
- Number of Days Allotted per Month: The number of days this crew is allotted to be scheduled.
- Start Month of Season: The starting month of the time period that the crew has the allotted number of days.
- End Month of Season: The last month of the time period that the crew has the allotted number of days.
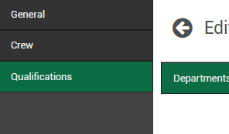
- (Optional) Click the Qualifications tab and select Plants.
- To add plants for which the user can work, click Add. Only a user whose role allows access on the Schedule to these plants would be able to assign this user to a dispatch. The available plants appear in the Available Qualifications box at the bottom of the page.
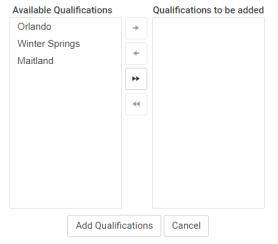
- Select the plant(s) from the left box you want to give the user access to, and then click > or >>. The selected plants appear in the Qualifications to be added box.
- Next, click Add Qualifications. The plants appear in the Qualifications section.
- To add plants for which the user can work, click Add. Only a user whose role allows access on the Schedule to these plants would be able to assign this user to a dispatch. The available plants appear in the Available Qualifications box at the bottom of the page.
Copyright © 2020 DropTime